How to activate the INFLO add-on in Upgates

This guide covers launching the verified INFLO add-on, the basic assistant setup and checking that the widget is ready for your e-shop's customers.

Overview of the INFLO portal after activating the add-on
After activation you manage the assistant in the INFLO portal available from the Upgates administration. Click the image to enlarge.
1

Activate the add-on in the Upgates administration

In the Upgates administration, open the Add-ons section, find INFLO shopping assistant in the list and click the Activate button.

Illustrative preview of installing the INFLO add-on in the Upgates Marketplace
Preview of activating the add-on in the Upgates administration. Click the image to enlarge.
What happens next:

Right after you click Activate, a confirmation popup appears asking for consent to grant the necessary API permissions.

2

Confirm consent to data processing

In the Upgates popup, confirm consent to grant access and share the data needed to run the add-on. This step is required so the assistant can work with your e-shop's information.

Illustrative preview of the INFLO activation screen
Illustrative preview of the INFLO activation screen. Click the image to enlarge.
3

Open the prepared INFLO portal

After you confirm consent, INFLO creates or links your account. The Upgates administration shows a confirmation that the portal is ready, and you continue with the Open portal button.

Screen in Upgates confirming that the INFLO portal is ready
After activation is confirmed, the portal is ready and you continue with the Open portal button. Click the image to enlarge.
4

Check your e-shop URL

In the initial setup, add or check your e-shop's URL. INFLO uses it to verify that the assistant is ready for the correct website.

Tip:

If the address is pre-filled, just check it and adjust if needed.

5

Check the assistant settings

In the settings, check the chat widget's appearance, the tone of communication, the assistant's knowledge and the rules for handover to an operator.

The assistant's appearance settings and a live widget preview in the INFLO portal
The assistant's appearance settings with a live widget preview. Click the image to enlarge.
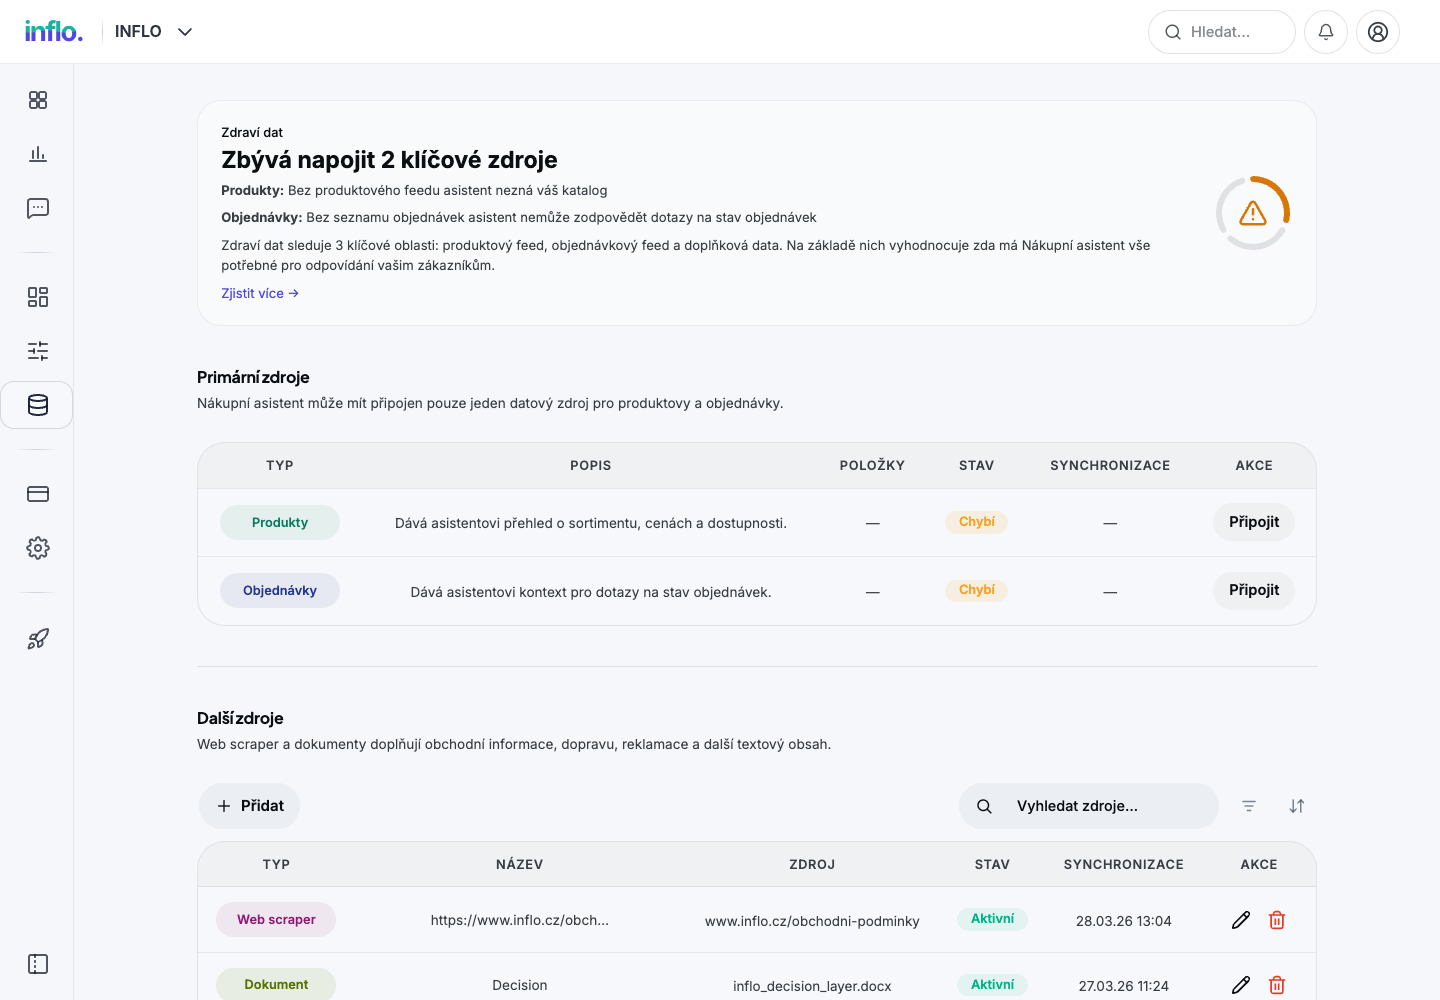
Overview of the assistant's knowledge and data sources in the INFLO portal
Overview of the assistant's knowledge and the status of connected sources. Click the image to enlarge.
6

Publish the widget to your e-shop

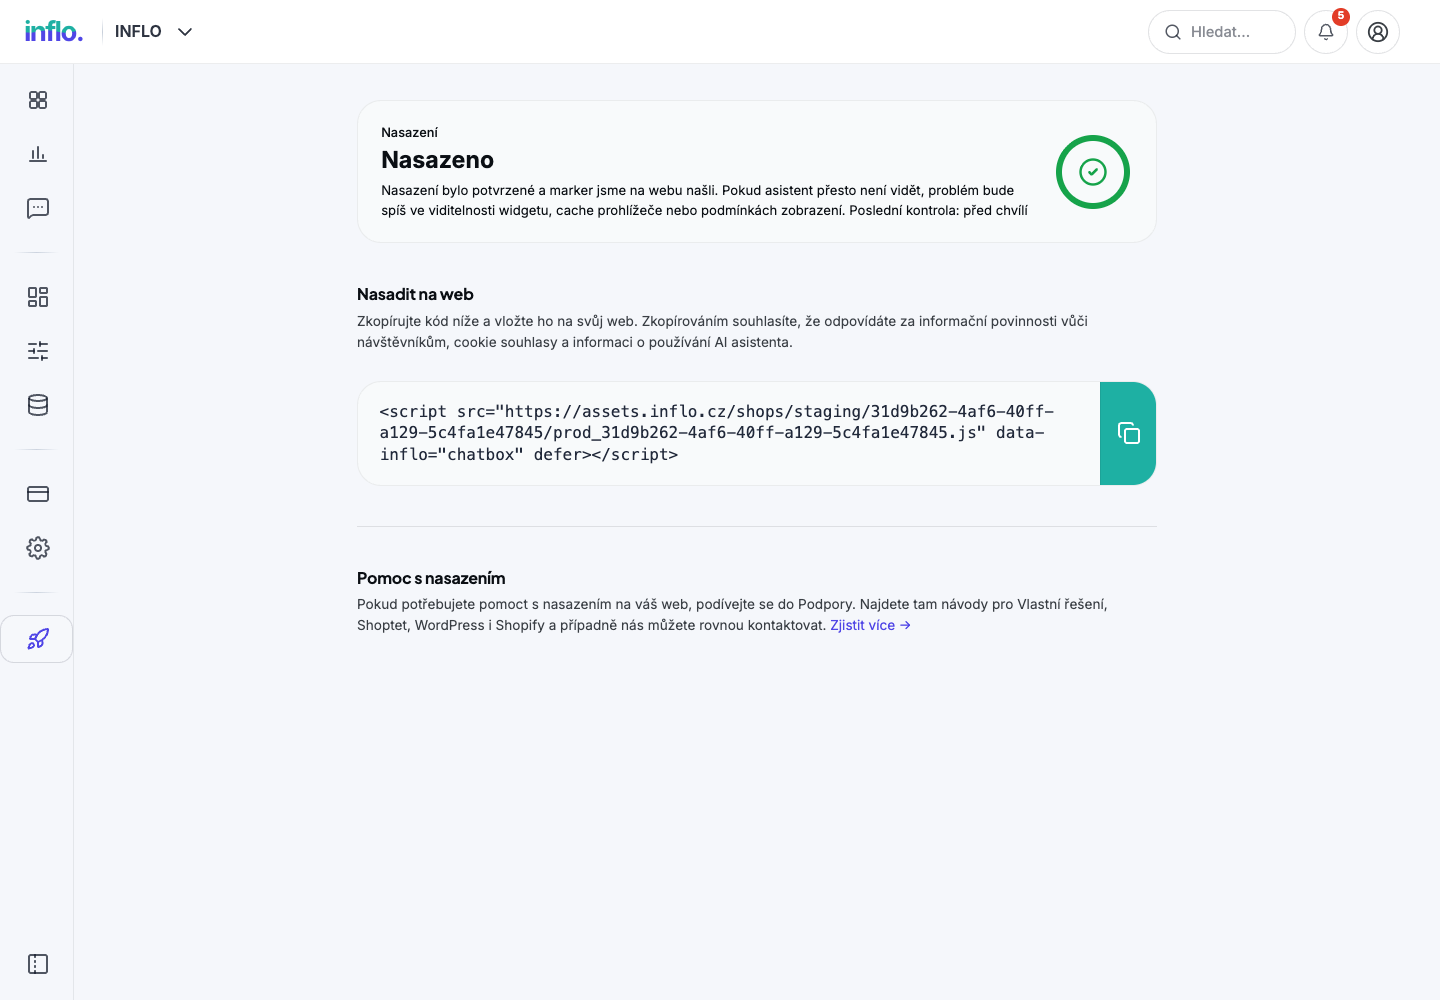
Once the setup is done, publish the widget to your e-shop. With the verified Upgates add-on, deployment is handled through the add-on connection; the Deploy to website page mainly serves to check that the widget is active and available.

Checking the INFLO widget deployment in the portal
Checking the widget deployment status in the INFLO portal. Click the image to enlarge.
7

The widget from the customer's perspective

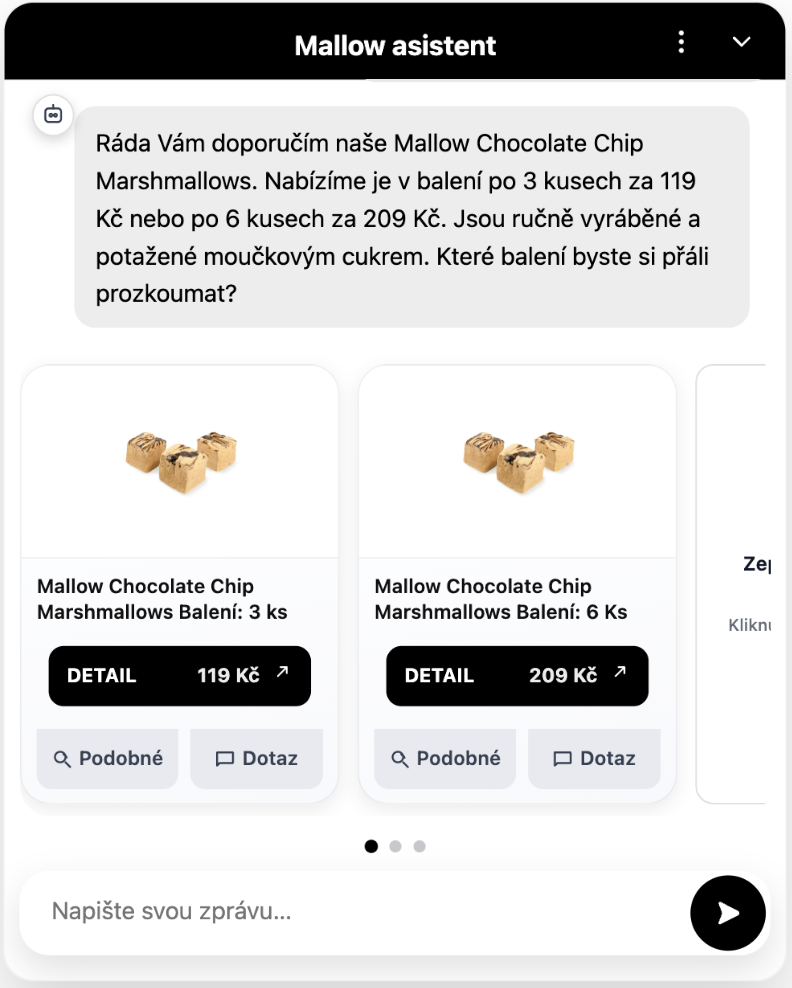
Customers then see the chat widget on the website and can ask about products, shipping, payments, orders or returns.

Example of the INFLO chat widget on an e-shop website
Example of the chat widget the customer sees on the e-shop. Click the image to enlarge.
8

Manage operation in the INFLO portal

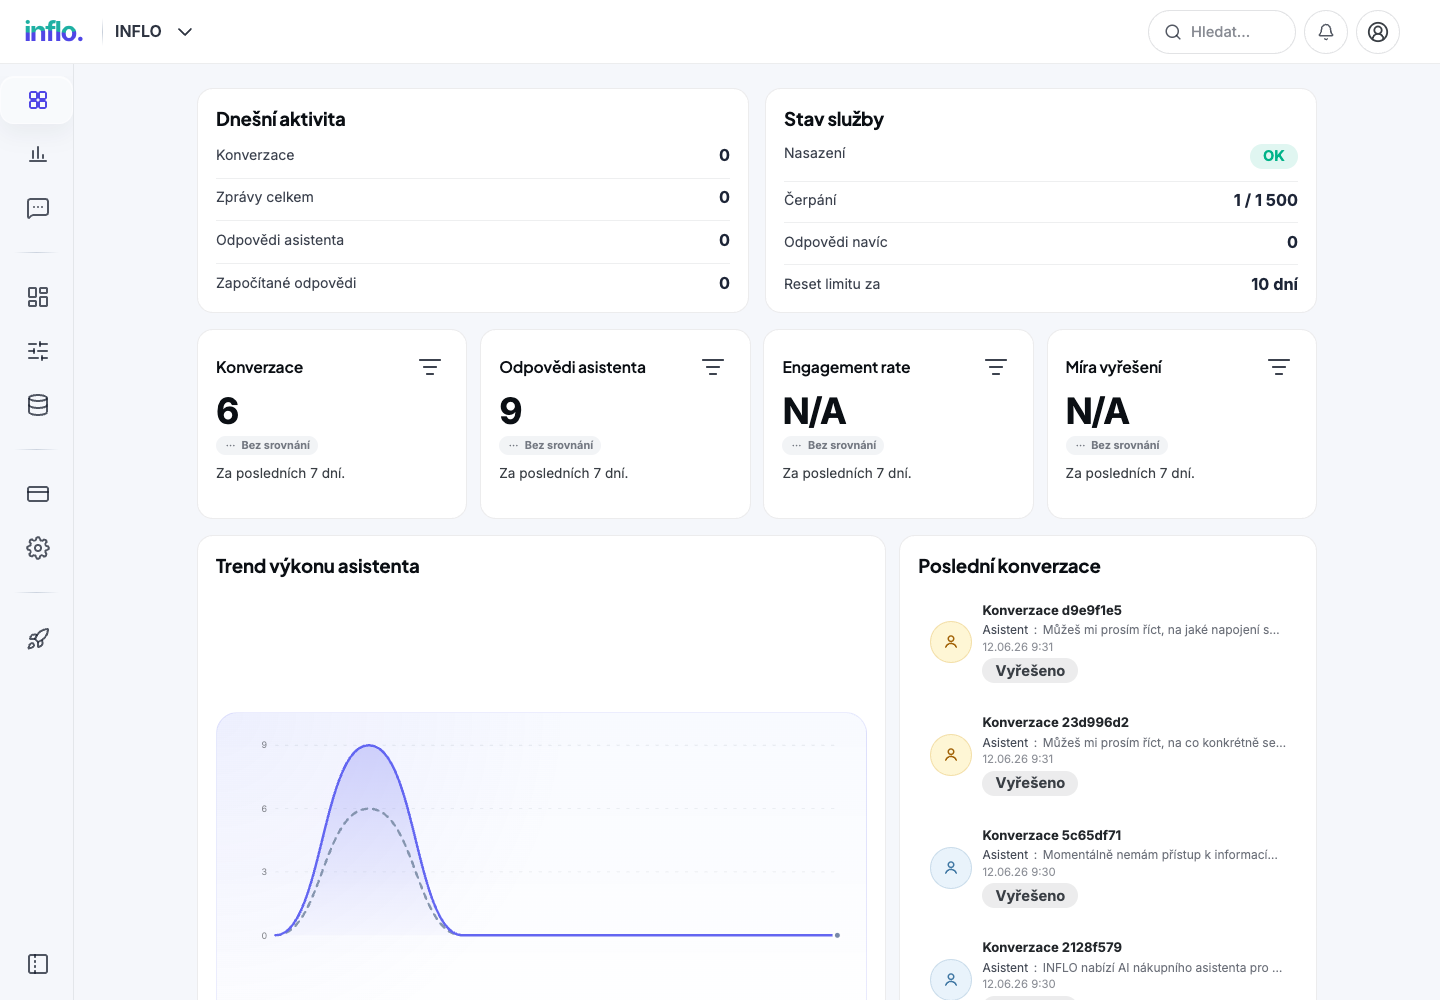
You manage the add-on's operation in the INFLO portal available from the Upgates administration. You monitor conversations, the assistant's answers, limit usage and service status.

Overview of the assistant's operation, statistics and conversations in the INFLO portal
Overview of operation, statistics and the latest conversations. Click the image to enlarge.

Need to go through the setup together?

We'll help with the first launch, the widget setup and checking the assistant's knowledge. If you'd like to go through the options together, book a short demo.